Overview
U-Boot (Universal Boot Loader) is the go-to bootloader for embedded Linux systems. If you’re working with the BeagleBone Black (BBB), building U-Boot from source gives you full control over the boot process, from initializing hardware to loading your kernel. This guide walks you through cross-compiling and installing U-Boot on the BBB from scratch.
This blog will explain how to compile and install U-Boot, and then either manually boot from the U-Boot prompt or use uEnv.txt to autoboot the kernel.
You can also use extlinux/extlinux.conf to boot the kernel.
Prerequisites
Before starting, make sure you have the following ready:
- A Linux host machine (Ubuntu 20.04 / 22.04 recommended)
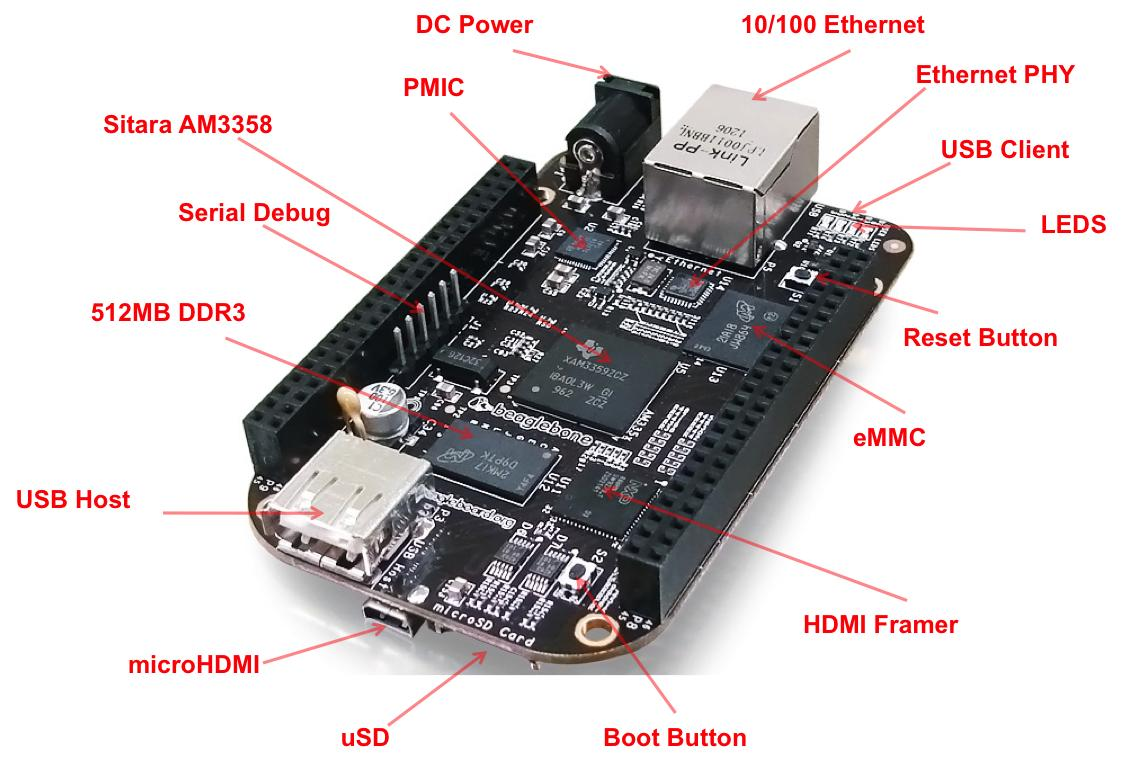
- A BeagleBone Black board
- A microSD card (4 GB or more)
- A USB-to-serial cable (for console output via UART0 / J1 header)
- Internet connection
SD Card Partition Layout
Before touching the SD card, it helps to understand the partition structure this guide uses:
| Partition | Device (Host) | Device (BBB) | Type | Size | Contents |
|---|---|---|---|---|---|
| 1 | /dev/sda1 | /dev/mmcblk0p1 | FAT32 | 64 MB | MLO, u-boot.img, uEnv.txt |
| 2 | /dev/sda2 | /dev/mmcblk0p2 | ext4 | 512 MB | (optional swap/data) |
| 3 | /dev/sda3 | /dev/mmcblk0p3 | ext4 | Remaining | Root filesystem (/) |
Note: On your host machine, the SD card appears as
/dev/sdaX. On the BBB itself, the same SD card appears as/dev/mmcblkX. U-Boot refers to the SD card asmmc 0and the onboard eMMC asmmc 1.
1. Set Up the Environment
On your host machine, install the required build tools:
sudo apt update
sudo apt install -y build-essential git bison flex libssl-dev \
    device-tree-compiler swig python3 python3-dev python3-setuptools \
    bc libncurses-dev
Export the cross-compilation environment variables:
export ARCH=arm
export CROSS_COMPILE=arm-linux-gnueabihf-
2. Get U-Boot Source
git clone https://source.denx.de/u-boot/u-boot.git
cd u-boot
Note: There is also a TI fork of U-Boot. Mainline U-Boot has sufficient support for BBB and is recommended here , the TI fork can lag behind mainline and adds complexity you likely don’t need.
Checkout a stable release tag (recommended for production):
git checkout v2026.04
3. Configure for BBB
make am335x_evm_defconfig
Note: The BBB uses the TI AM335x SoC, so
am335x_evm_defconfigis the correct config target. All available configs are located in theconfigs/directory.
4. Update Configuration
Before building, you can customize U-Boot behavior using the configuration menu:
make menuconfig

Navigate to:
Boot options
→ Autoboot options
    → delay in seconds before autoboot
Set the value to 5. This controls how long U-Boot waits before executing the default boot command (BOOTDELAY).
Alternatively, verify or edit the config file directly:
grep CONFIG_BOOTDELAY .config
# CONFIG_BOOTDELAY=5
5. Build U-Boot
make -j$(nproc)
After a successful build, you will find these files in the source directory:
| File | Description |
|---|---|
MLO | First-stage bootloader (SPL) |
u-boot.img | Main U-Boot image |
u-boot-dtb.img | U-Boot with device tree blob |
6. Prepare the microSD Card
Identify your SD card device
lsblk
Example output:
sda           8:0    1  29.7G  0 disk
├─sda1        8:1    1    64M  0 part   ← FAT32 boot partition
├─sda2        8:2    1   512M  0 part   ← ext4 (optional swap/data)
└─sda3        8:3    1  29.2G  0 part   ← ext4 root filesystem
Warning: Replace
sdawith your actual device name. Double-check before proceeding , writing to the wrong device will destroy data.
Partition the SD card
If your SD card is not yet partitioned correctly, use fdisk:
sudo fdisk /dev/sda
Inside fdisk:
- Press
o, create a new empty DOS partition table - Press
n, new partition 1, primary, start at sector2048, size+64M - Press
t, change type to0c(FAT32 LBA) - Press
a, mark partition 1 as bootable - Press
n, new partition 2, primary, size+512M - Press
n, new partition 3, primary, use remaining space - Press
w, write and exit
Format the partitions
sudo mkfs.vfat -F 32 -n "BOOT" /dev/sda1
sudo mkfs.ext4 -L "rootfs" /dev/sda3
7. Install U-Boot to the SD Card
sudo mount /dev/sda1 /mnt
sudo cp MLO /mnt/
sync
sudo cp u-boot.img /mnt/
sync
sudo umount /mnt
Order matters!
MLOmust be copied beforeu-boot.img. Both files must be present on the FAT32 partition. Thesynccommands flush writes and help prevent memory corruption.
8. Booting from SD Card (Forcing Boot Source)
- Insert the microSD card into the BBB
- Connect your USB-to-serial cable to the BBB’s J1 header (UART0):
- Pin 1 → GND
- Pin 4 → RX
- Pin 5 → TX
- Open a serial terminal on your host:
sudo minicom -D /dev/ttyUSB0 -b 115200
To ensure the board boots from the SD card instead of the onboard eMMC, you need to override the default boot order.
Press and hold the BOOT button (S2, located near the SD card slot), then apply power. Keep it pressed for a couple of seconds until the board starts booting, then release.
You should see U-Boot output on the serial console ending with:
=>
This => prompt means U-Boot is running successfully.
9. Manually Booting from the U-Boot Prompt
First, interrupt autoboot when prompted:
Hit any key to stop autoboot
Set load addresses
Set these first, before any load commands:
setenv loadaddr 0x82000000
setenv fdtaddr  0x88000000
Important: The kernel and DTB addresses must not overlap in RAM. The values above are safe defaults for BBB.
Select the SD card
mmc dev 0
This tells U-Boot to use the SD card (mmc 0). The onboard eMMC is mmc 1 on the BBB.
Load the kernel image
The kernel lives in /boot on partition 3 (ext4 rootfs). Use ext4load for ext4 partitions:
# ext4load mmc <dev>:<partition> <ram_addr> <file_path>
#   0:3 → SD card (mmc 0), third partition (ext4 rootfs)
ext4load mmc 0:3 ${loadaddr} /boot/vmlinuz-6.6.20
Note: Replace
vmlinuz-6.6.20with the actual kernel version present in/booton your rootfs.
Load the device tree
ext4load mmc 0:3 ${fdtaddr} /boot/dtbs/6.6.20/am335x-boneblack.dtb
Note: Replace the DTB filename with the one matching your kernel version and board variant.
Set boot arguments
setenv bootargs console=ttyS0,115200n8 root=/dev/mmcblk0p3 rw rootfstype=ext4 rootwait
mmcblk0p3→ SD card, 3rd partition (root filesystem)- Adjust this if your rootfs is on a different partition
Boot the kernel
bootz ${loadaddr} - ${fdtaddr}
Save variables for next boot (optional)
saveenv
Common Mistakes
| Mistake | Result |
|---|---|
Using load instead of ext4load for ext4 partitions | File not found / load failure |
Wrong partition number (0:1 vs 0:3) | Boot files or rootfs not found |
| Incorrect DTB path or filename | Early boot failure or hang |
Wrong root device in bootargs (mmcblk0p2 vs mmcblk0p3) | Kernel panic , cannot mount root |
Overlapping loadaddr and fdtaddr in RAM | Kernel or DTB corruption |
10. Autoboot Using uEnv.txt
Instead of typing commands manually every time, configure U-Boot to autoboot using a uEnv.txt file.
Create uEnv.txt
Place this file in the root of the FAT32 boot partition (/dev/sda1), not inside any subdirectory:
sudo mount /dev/sda1 /mnt
sudo nano /mnt/uEnv.txt
Paste the following content:
loadaddr=0x82000000
fdtaddr=0x88000000
bootpart=0:3

bootdir=/boot
bootfile=vmlinuz-6.6.20

dtbdir=/boot/dtbs/6.6.20
dtbfile=am335x-boneblack.dtb

mmcroot=/dev/mmcblk0p3 rw
mmcrootfstype=ext4 rootwait

console=ttyS0,115200n8
optargs=earlyprintk

mmcargs=setenv bootargs console=${console} ${optargs} root=${mmcroot} rootfstype=${mmcrootfstype}

loadfdt=ext4load mmc ${bootpart} ${fdtaddr} ${dtbdir}/${dtbfile}
loadimage=ext4load mmc ${bootpart} ${loadaddr} ${bootdir}/${bootfile}

uenvcmd=if run loadfdt; then if run loadimage; then run mmcargs; bootz ${loadaddr} - ${fdtaddr}; fi; fi;
sync
sudo umount /mnt
Note: Update
bootfile,dtbdir, anddtbfileto match the actual kernel and DTB versions on your rootfs.
Verify U-Boot loads uEnv.txt
Interrupt U-Boot and check the current boot command:
printenv bootcmd
If uEnv.txt is not being imported automatically, set it manually and save:
setenv uenv_addr 0x81000000
setenv bootcmd 'load mmc 0:1 ${uenv_addr} uEnv.txt; env import -t ${uenv_addr} ${filesize}; run uenvcmd'
saveenv
Note:
uEnv.txtitself lives on the FAT32 partition (0:1), so plainload(FAT) is correct here. Only the kernel and DTB , which live on the ext4 rootfs partition (0:3) , needext4load.
Make sure to run
saveenvto persist them to flash. Without this, your changes are lost on the next power cycle.
Boot Flow
Power ON
  └─→ ROM bootloader
        └─→ MLO (SPL) from FAT partition (mmc 0:1)
              └─→ u-boot.img
                    └─→ load uEnv.txt from FAT (mmc 0:1)
                          └─→ import variables
                                └─→ run uenvcmd
                                      └─→ ext4load kernel + DTB from ext4 (mmc 0:3)
                                            └─→ bootz → Linux kernel
U-Boot Auto Booting Using uEnv.txt
Final Thoughts
You now have a working U-Boot setup on your BeagleBone Black , from cross-compiling the source to autoboot the kernel via uEnv.txt. You can also use extlinux/extlinux.conf as an alternative to uEnv.txt